Advertisement
Popular Now
Introduction
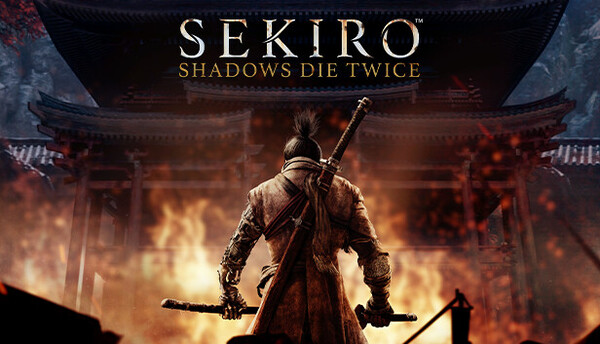
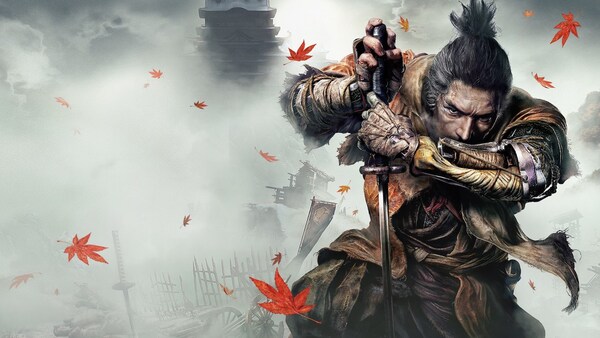
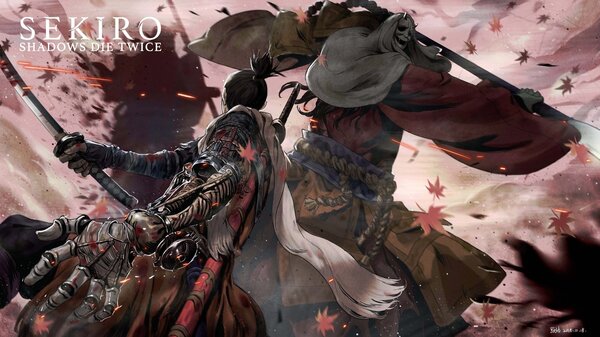
Sekiro: Shadows Die Twice, developed by FromSoftware, is renowned for its unforgiving difficulty and unique combat mechanics. Unlike other action RPGs, where dodge-rolling or parrying might save the day, Sekiro introduces a refined focus on the concepts of deflecting and posture breaking, crucial for surviving its intense boss fights. In this article, we’ll explore the intricacies of Sekiro’s combat system, with a particular focus on the deflect and posture mechanics, and how mastering these can transform your gameplay experience.
Conclusion Sekiro: Shadows Die Twice offers a rich and deeply rewarding combat system, where mastery of deflection, posture, and timing is essential for success. By understanding these mechanics and employing the strategies outlined in this guide, you’ll find yourself overcoming even the toughest challenges the game has to offer.

1. The Foundation: Understanding the Combat Philosophy in Sekiro
The core of Sekiro’s combat philosophy is built around skill, precision, and the rhythm of battle. This isn’t a game where grinding levels or upgrading gear will save you; instead, it rewards quick reflexes and deep understanding of its combat systems. H3: Aggression Over Defense- Unlike FromSoftware’s previous games, where defensive tactics were often the safest route, Sekiro encourages aggressive play. Blocking and dodging aren’t enough; you need to stay close to your opponent, deflect their blows, and maintain constant pressure to break their posture.
- While traditional health bars still exist in Sekiro, breaking an opponent’s posture is the primary way to defeat enemies, especially bosses. When their posture is broken, you can deliver a deadly finishing move, the Shinobi Deathblow, which often bypasses large chunks of health.
- Combat in Sekiro often feels like a rhythm game. Attacks, deflections, and counters flow together in a seamless pattern. Learning the attack timings of enemies is key to mastering the rhythm of each battle, turning each fight into a high-stakes dance.
2. Deflection: Timing Is Everything
The deflect mechanic is arguably the most critical skill to master in Sekiro. Rather than holding the block button, players are encouraged to tap it at the exact moment an enemy's attack lands, causing a deflect that damages their posture. H3: The Importance of Timing- Deflecting is all about timing. Pressing the block button just before an enemy’s attack connects will cause your character to deflect the blow, with a satisfying sound and visual cue. This not only prevents damage but also increases the enemy’s posture bar.
- Perfect deflects damage enemy posture more significantly than normal blocks, making it easier to execute a deathblow. Additionally, enemies may stagger after multiple perfect deflections, giving you a brief window to counterattack.
- Learning enemy attack patterns is crucial for mastering deflects. Most bosses have multi-hit combos that require multiple well-timed deflects. Practice makes perfect, and memorizing these patterns is often the key to victory.
3. Posture Mechanics: Breaking Down Your Foe
In Sekiro, posture represents an enemy's ability to defend themselves. As you land attacks and deflect their blows, their posture meter fills up. Once full, their defenses break, leaving them open for a deadly counter. H3: Filling the Posture Meter- Landing successive hits, deflecting enemy attacks, and even blocking can slowly build up an enemy’s posture meter. Your goal is to fill it completely to open them up to a finishing move.
- As with enemies, you too have a posture meter that builds up as you block or get hit. Holding the block button will slow down posture recovery, while staying offensive and deflecting properly will help you maintain control of the battle.
- The posture system is a direct reflection of each character’s stamina in battle. Your goal is to exhaust your opponent by maintaining pressure, while managing your own stamina by deflecting and avoiding unnecessary blocks.
4. High-Risk, High-Reward: The Importance of Mikiri Counter
The Mikiri Counter is a skill that allows you to counter enemy thrust attacks by stepping on their weapon, breaking their posture and dealing significant damage. H3: Recognizing Thrust Attacks- Thrust attacks are often signaled by a red kanji symbol that appears on the screen, indicating a dangerous attack. Instead of dodging, a well-timed Mikiri Counter can drastically tilt the fight in your favor.
- To perform a Mikiri Counter, you must press the dodge button toward the enemy at the precise moment their thrust attack lands. This requires perfect timing and awareness, but the payoff is worth it, as it deals massive posture damage.
- The Mikiri Counter is a high-risk, high-reward technique. If you miss the timing, you’ll often take a fatal blow. However, mastering this counter can turn some of the game’s toughest battles into manageable encounters.
5. Combat Art Mastery: How to Choose and Utilize Your Skills
Sekiro features a variety of Combat Arts, powerful moves that can turn the tide of battle when used correctly. These arts must be equipped and used strategically based on the situation. H3: Experimenting with Combat Arts- Each combat art has its strengths and weaknesses. For instance, Whirlwind Slash is excellent for dealing with multiple enemies, while Ichimonji can restore posture while delivering a heavy strike. Experiment with different arts to find one that complements your playstyle.
- Combat Arts should not be spammed. Use them strategically, such as after dodging an attack or when an enemy’s posture is about to break. Careless use of these arts can leave you vulnerable, so timing is crucial.
- As you progress through the game, you’ll unlock more powerful versions of these Combat Arts. Spend skill points wisely to upgrade your most-used arts, allowing you to deal more damage and recover posture faster.

6. Stealth Tactics: When to Avoid Combat
While Sekiro emphasizes direct combat, there are plenty of situations where stealth is the best option. Using stealth effectively can allow you to take out enemies without the need for combat. H3: Using the Environment- Many areas in the game are designed with stealth in mind. Tall grass, rooftops, and ledges provide opportunities to sneak up on enemies and deliver Stealth Deathblows. Use the environment to your advantage to avoid unnecessary fights.
- Stealth Deathblows allow you to eliminate enemies instantly without engaging in combat. Use them to take out difficult opponents before they can alert others, or to thin out groups before a larger battle.
- Staying out of sight is key to successful stealth. Use distractions like Ceramic Shards to lure enemies away from their patrol routes, and always keep an eye on enemy sightlines.
7. Managing Resources: Healing and Reviving
In Sekiro, health management is crucial for survival. The game provides limited healing resources, so learning how and when to use them is essential for success. H3: Healing with the Healing Gourd- The Healing Gourd is your primary source of healing, refilling at each Sculptor’s Idol (the game’s version of bonfires). Use it sparingly during combat, as over-reliance can lead to a lack of healing in critical moments.
- Sekiro introduces a unique resurrection mechanic that allows you to revive after death. However, reviving too often can have consequences, such as weakening NPCs through Dragonrot. Use this mechanic wisely and avoid reckless revivals.
- Resurrection charges are limited, and they don’t replenish automatically. Defeating enemies and resting at Sculptor’s Idols can restore these charges, so plan your battles with this in mind.
8. Boss Battles: Strategy Over Strength
Boss battles in Sekiro are some of the toughest challenges in the game. Understanding the strategies behind each boss is more important than brute force. H3: Learning Boss Patterns- Each boss has a unique set of attacks and patterns. Patience is key; study the boss’s moves and look for openings to attack or deflect. Rushing into combat will often lead to failure.
- Certain bosses are weak to specific items or prosthetic tools. For example, the Firecrackers prosthetic tool can stun beast-type bosses, giving you a critical window to attack.
- Boss fights in Sekiro can be long and intense. Stay calm, keep your focus, and don’t be afraid to back off and heal when necessary. Losing your composure can lead to critical mistakes.
9. Prosthetic Tools: Expanding Your Combat Arsenal
The Shinobi Prosthetic is one of the most unique features in Sekiro, providing a variety of tools that can be used in both combat and exploration. H3: Choosing the Right Tool for the Job- The Shinobi Prosthetic includes tools such as the Shuriken, Flame Vent, and Axe. Each tool has a specific use, so experiment with them to find out which works best in different situations.
- As you progress, you’ll find materials that allow you to upgrade your prosthetic tools. These upgrades can make a huge difference, adding new functions or increasing damage output.
- Prosthetic tools consume Spirit Emblems, a finite resource. Use them wisely, and don’t rely too heavily on tools in combat unless absolutely necessary.
10. The Final Stretch: Preparing for Endgame Challenges
As you near the end of Sekiro, the difficulty ramps up considerably. Bosses become more aggressive, and enemies are deadlier. Proper preparation is crucial for success. H3: Maxing Out Skills and Upgrades- Before tackling the final areas, ensure that you’ve maxed out your skills and upgrades. Spend any remaining skill points on useful abilities, and upgrade your prosthetic tools to their highest potential.
- The final boss fights in Sekiro require extreme patience and precision. Don’t rush into these fights; take your time, learn the enemy patterns, and wait for the right moments to strike.
- By this point, you should have a firm grasp of the combat mechanics. Use everything you’ve learned — deflects, posture breaking, prosthetic tools, and stealth tactics — to overcome the final challenges and complete your journey.

Conclusion Sekiro: Shadows Die Twice offers a rich and deeply rewarding combat system, where mastery of deflection, posture, and timing is essential for success. By understanding these mechanics and employing the strategies outlined in this guide, you’ll find yourself overcoming even the toughest challenges the game has to offer.


